
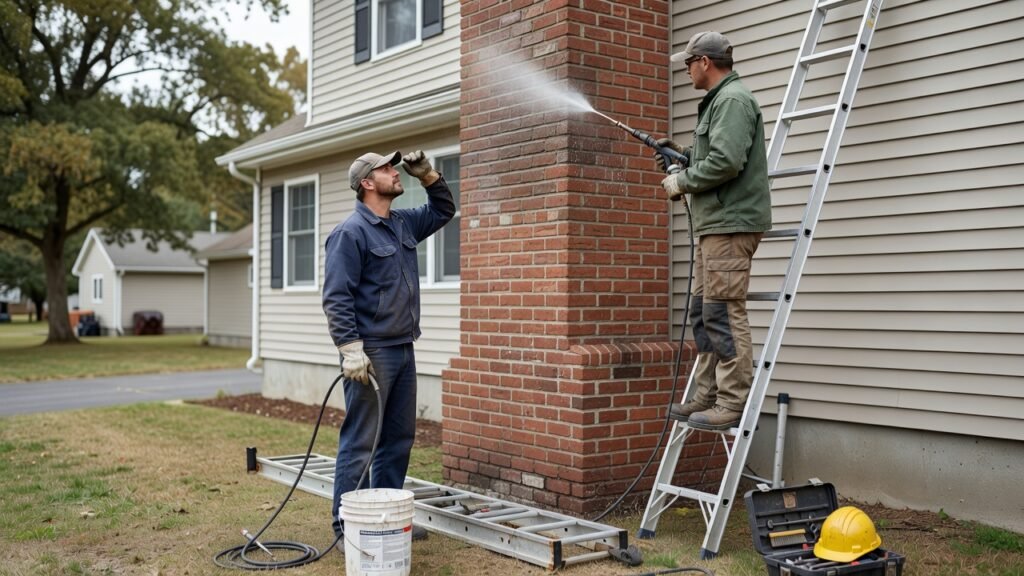
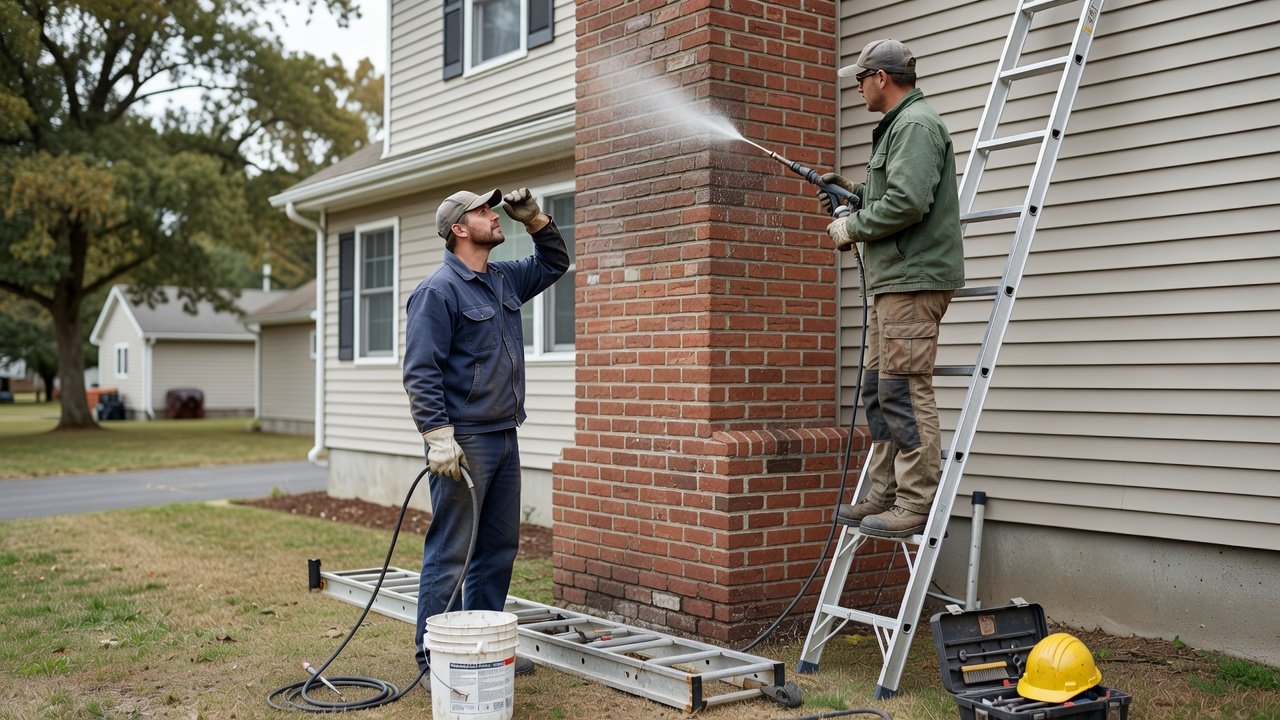
How to Waterproof Your Chimney the Right Way and the Mistakes That Cost Demarest Homeowners the Most
Water is one of the biggest enemies of a masonry chimney. Freeze-thaw cycles in northern Bergen County can cause moisture trapped inside brick and mortar to expand and contract, gradually turning minor deterioration into expensive repairs. Most homeowners do not call until the damage becomes visible, such as staining around the firebox, spalling brick on the exterior, or white efflorescence streaking down the chimney. By then, water may have been entering the chimney for some time. If you are planning to waterproof your chimney this fall, the most important thing is getting the sequence right. This guide explains what should happen before waterproofing begins and highlights the mistakes homeowners in Demarest, Tenafly, Englewood, and surrounding communities should avoid.
Before You Start: Inspection First, Products Second
One of the biggest mistakes homeowners make is buying a waterproofing product before having the chimney evaluated. Applying a sealer over cracked mortar, damaged masonry, or a deteriorated crown does not address the underlying problem. In some situations, sealing damaged masonry without repairing it first can trap moisture and allow deterioration to continue.
Start with a professional chimney inspection. A qualified technician can evaluate the crown, cap, flashing, mortar joints, exterior masonry, and accessible portions of the chimney. CSIA recommends annual chimney inspections by a CSIA Certified Chimney Sweep and identifies water intrusion as a major source of chimney deterioration.
Demarest’s older housing stock can include masonry chimneys that have experienced decades of moisture, temperature changes, and weather exposure. If you have not had your chimney inspected recently, have the condition evaluated before purchasing waterproofing materials.
Step 1: Have the Crown Repaired or Rebuilt
The crown sits at the top of the chimney and helps direct water away from the masonry. CSIA recommends repairing or replacing damaged chimney crowns and notes that crowns should extend beyond the chimney structure to help protect the brick and mortar below.
If the crown has minor surface cracking and remains structurally sound, a professional may recommend an appropriate repair or waterproofing treatment. If it is badly cracked, deteriorated, or missing sections, rebuilding may be necessary.
Crown repair can run roughly $250 to $500 in Bergen County, while more extensive replacement may cost $600 to $900 or more, depending on chimney size, materials, access, and the extent of damage.
Do not apply waterproofing over a crown that needs structural repair. Fix the source of the water intrusion first.
Step 2: Repoint Deteriorated Mortar Joints
Mortar joints naturally deteriorate over time, particularly on chimneys exposed to rain, snow, and repeated freeze-thaw cycles. Cracked or missing mortar gives water another path into the chimney structure.
Repointing, sometimes called tuckpointing, involves removing deteriorated mortar and replacing it with a compatible new mortar. The replacement material should be selected based on the existing masonry rather than automatically using one mortar type for every chimney.
This matters particularly with older homes. A mortar that is too hard for the existing brick can contribute to masonry damage over time.
Repointing a typical single-flue chimney in the area can cost approximately $300 to $800, although chimney height, access, severity, and the amount of mortar requiring replacement can change the final price.
Waterproofing should not be used as a substitute for repairing deteriorated mortar joints.
Step 3: Check and Correct the Flashing
Flashing forms the water-resistant transition between the chimney and roof. When flashing separates, corrodes, or was improperly installed, water can enter around the base of the chimney and eventually reach the interior of the home.
CSIA identifies damaged flashing as one of the common areas homeowners should address when dealing with chimney water intrusion.
A technician should check the flashing before waterproofing begins. If it is lifting, corroded, damaged, or improperly installed, repair should come first.
Budget approximately $300 to $700 for flashing repair. More extensive replacement can run $800 to $1,500 or more, depending on the roof and chimney configuration.
Waterproofing the masonry will not solve a flashing problem.
Step 4: Apply a Vapor-Permeable Waterproofing Product
Once structural problems have been addressed, waterproofing can provide an additional layer of protection for masonry.
This is where product selection matters. CSIA specifically recommends a vapor-permeable waterproofing agent for masonry chimneys and warns against paint or non-vapor-permeable sealers that can trap moisture inside the chimney.
Use a product specifically designed for chimney or masonry waterproofing and follow the manufacturer’s application instructions. CSIA’s accepted-product program also lists specific chimney waterproofing products, including products from SaverSystems, but acceptance applies to the individual products listed rather than every product from a manufacturer.
The chimney should be properly prepared and sufficiently dry before application. Weather conditions and application requirements vary by product, so follow the manufacturer’s instructions rather than relying on a universal number of coats or application method.
Step 5: Install or Replace the Chimney Cap
A chimney cap helps keep rain, animals, and debris from entering the flue. CSIA recommends chimney caps as one of the basic measures homeowners can take to reduce water intrusion.
If your cap is missing, damaged, heavily corroded, or improperly sized, have it evaluated before completing the waterproofing work.
A stainless steel cap can cost approximately $150 to $350 installed in Bergen County, although the final price depends on the size, configuration, material, and number of flues.
A cap does more than keep rain out. It can also help prevent birds and animals from entering the chimney.
Step 6: Check the Chimney After Major Weather
Waterproofing is not a substitute for ongoing maintenance. After significant storms or periods of severe weather, check the chimney from a safe location for new efflorescence, visible masonry deterioration, crown cracks, or obvious flashing problems.
Do not climb onto a steep or difficult roof simply to perform a visual inspection. A professional should handle roof-level inspection when safe access is not available.
CSIA recommends annual chimney inspections by a qualified professional, which provides an opportunity to catch new problems before they become major repairs.
Troubleshooting Tip: Water in the Firebox Isn’t Always a Waterproofing Problem
If you see water inside the firebox after waterproofing, do not automatically assume the exterior treatment failed.
The source could be a damaged chimney cap, flashing problem, crown deterioration, or another part of the chimney system. CSIA specifically identifies dripping or standing water, damaged flashing, and other moisture signs as reasons to investigate the chimney’s water entry points.
If the source is unclear, have a qualified chimney professional inspect the system rather than applying another layer of sealer.
The Right Order Matters
For Demarest homeowners dealing with aging masonry and Bergen County weather, the safest approach is straightforward:
Inspect → Repair → Waterproof → Maintain
Do not use waterproofing to cover cracked crowns, deteriorated mortar, or failed flashing. Address the underlying problem first, then use an appropriate vapor-permeable waterproofing product to provide additional protection.
Tenafly Chimney serves Demarest, Tenafly, Englewood, Alpine, and surrounding northern Bergen County communities. Contact us to schedule a chimney inspection before winter arrives. We’ll document what we find and explain which repairs, if any, should be addressed before waterproofing.
Related from Tenafly Chimney: When to Waterproof Your Chimney in Englewood and the Mistakes That Cos · Chimney Sweep in Tenafly · Fireplace Cleaning in Tenafly, NJ
Our services
Chimney Inspections · Chimney Cleaning · Chimney Sweep in Tenafly · Chimney Sweep Tenafly · Chimney Sweep in Tenafly, NJ · Chimney Sweep in Tenafly
Areas we serve
Tenafly, NJ · Tenafly, NJ · Tenafly, NJ · Tenafly, NJ · Tenafly, NJ · Tenafly, NJ